How to Make a Puzzle Map
If you are looking for a crafty, creative, and easy way to help your kids learn about maps and geography we have a fun idea for you.Why not make your own puzzle maps?
My family loves to learn with maps – we have built several types of edible maps and we have even created our own atlases. Sometimes we like to get the glue and scissors out for our hands-on projects and that is exactly what we need for this puzzle building activity.
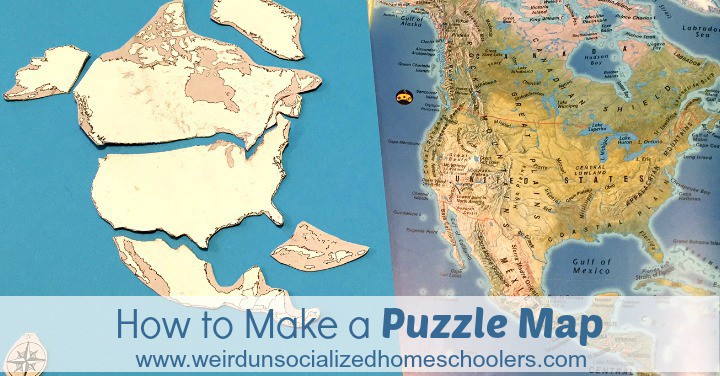
Why Make a Puzzle Map?
Puzzles help children of all ages understand how things fit together. By making their own puzzle map children will build a better understanding of where states, countries, or continents are in relation to each other and the world around them.
We intentionally keep this project simple so kids of any age can make their own puzzles of areas they want to learn more about. We use basic outline maps of the places we are studying. Depending on their areas of study kids can even color or label their maps to represent what they are learning (climate, topography, etc.).
Puzzles also serve as a great tool for review. While assembling their puzzle maps students can review names and locations of different places, fun facts, and more.
How to Make a Puzzle Map
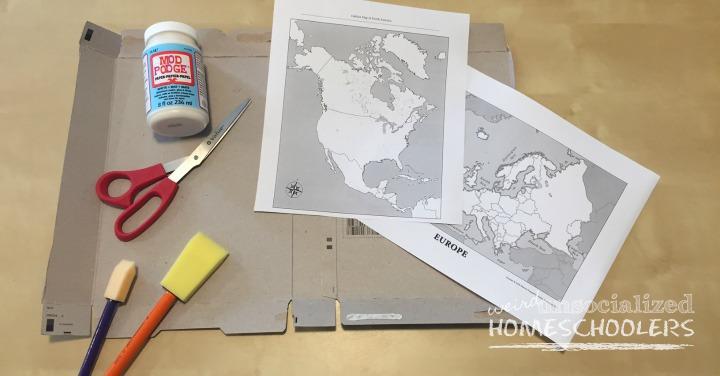
Supplies for making a puzzle map:
- Paper (regular or card stock)
- Online source for printable maps (we prefer National Geographic MapMachine)
- Scissors
- Thin cardboard such a cereal box
- Mod Podge
- Craft brush or sponge
Step 1: Print outline map. Select an outline map for the area/region you are studying. Print the map onto a sheet of paper.
Step 2: Time for glue. Apply a thin coat of Mod Podge to the cardboard surface using the craft brush or sponge.
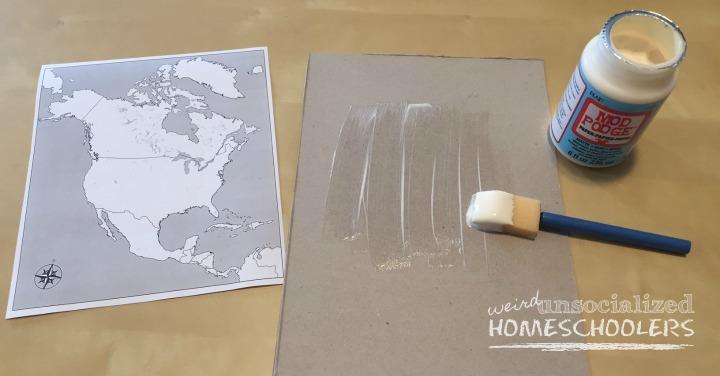
Step 3: Attach map. Place the printed map on top of the glue and smooth into place, removing all air bubbles. Let dry for 2+ hours. (Note: I usually place a heavy book over the glued paper to keep it flat while drying, but be sure there is no glue around the edges as you don’t want it to stick to your book!)
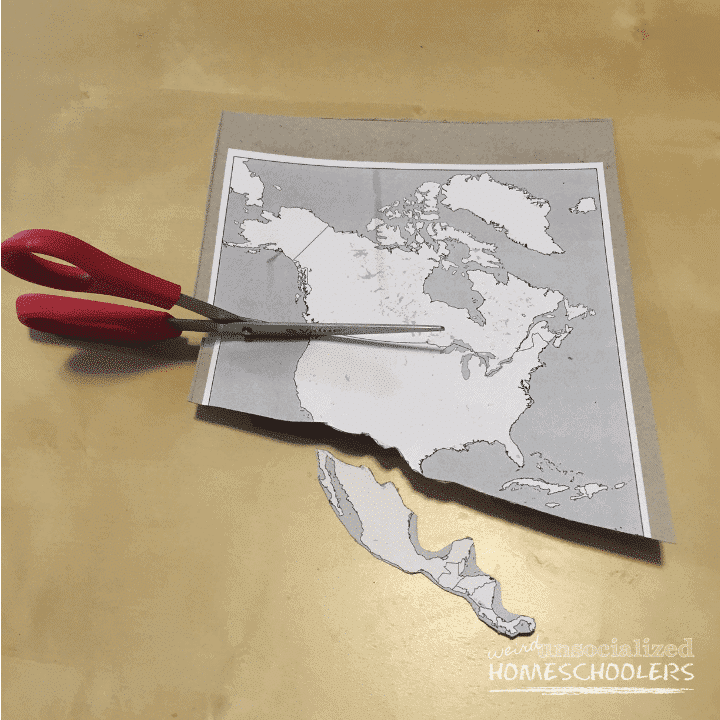
Step 4: Cut. Cut the map along state/country boundary lines. Store completed puzzle pieces in plastic bags to keep pieces together for future use.
Optional: To better preserve your puzzle you may want to add a layer of Mod Podge on top of completed puzzle pieces.
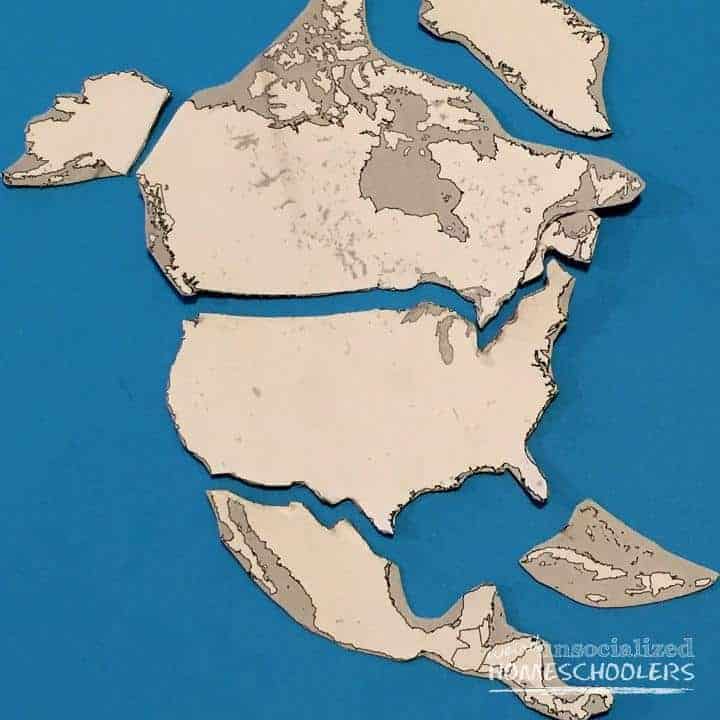
Learning about geography can be a lot of fun when you include creative, hands-on activities. Don’t just look at maps in a book, bring them to life with a few simple craft supplies, and make your own puzzle maps!
 Susan Williams is a wife, mom of two teen homeschooled boys, and a co-founder of EducationPossible, a website for sharing creative, hands-on learning activities for middle school. As a veteran educator she has taught in corporate, college, and various homeschool settings. Susan enjoys traveling with her family, sharing ideas with other moms, and helping her children explore the world around them (and as Floridians that usually includes spending time at one of their favorite worlds – Walt Disney World).
This article was written by a Weird, Unsocialized Homeschoolers guest author. See the author's full bio in the body of the post.


