How to Make a Simple Pizza Cell Model (6 Easy Steps!)
Try these tips to make a pizza cell model. We’ve got simple directions to make either an animal cell model or a plant cell model using a dish that almost everyone loves!
One of the tastiest ways to make a cell model is pizza! How can you go wrong with a delicious, warm crust, yummy sauce and cheese, and whatever mouthwatering toppings you choose to represent the cell’s organelles?
The cell is the basic building block of life and, as such, is often the first lesson covered in biology, no matter the age of the student. And, one of the first science projects is usually to create a cell model. (And, if a cell model project isn’t in your science text, make one anyway! They’re so much fun and a fantastic tool for helping students study and remember the parts of a cell.)
Now, there are lots of ways to make a cell model, but edible projects are always a favorite at our house. You get to have fun making them. Then, instead of feeling guilty for deciding to toss the work of art instead of storing it somewhere, you get to enjoy eating it! Storage problems (and meal plan quandary) are solved!
One of our all-time favorites was the cake cell model we made, but this pizza cell model is right up there with that one.
What You Need
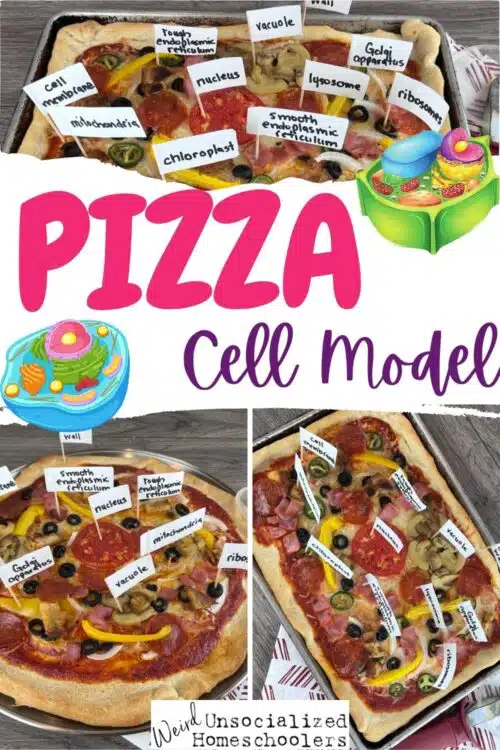
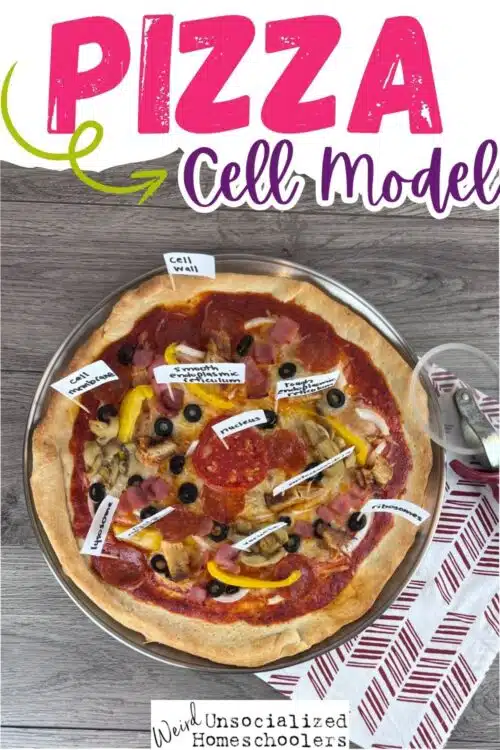
The pizza cell model ingredients are really flexible according to your family’s tastes. Following is what we used and what each ingredient represented.
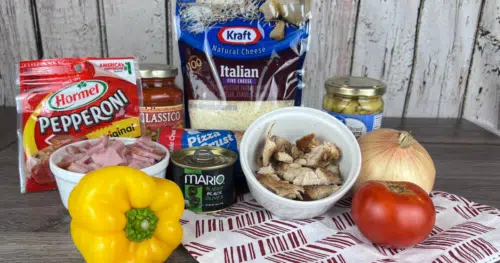
- Crust (refrigerated or make your own) – cell wall
- Pizza sauce (we used a store-bought jarred sauce) and mozzarella – cell membrane
- Tomato slice – nucleus
- Black olives – ribosomes
- Onions – rough endoplasmic reticulum
- Peppers – Golgi apparatus
- Mushrooms – vacuole
- Ham – smooth endoplasmic reticulum
- Chicken – mitochondria
- Pepperoni – lysosome
- Jalapeño pepper – chloroplast (for a plant cell model)
- Toothpicks and self-adhesive mailing labels for flag labels
Those ingredients are just a guide, though. Substitute whatever your family likes. I won’t even argue with you over whether or not pineapple belongs on a pizza.
How to Make an Animal Pizza Cell Model
Step 1: Decide on your toppings.
First, decide what toppings you want to use to represent the organelles of the cell. Some textbooks include organelles that others may leave out. That’s okay. The older your kids, the more detail, and thus the more organelles you’ll probably see listed.
I found it helpful to first make a list of each organelle that we’d be labeling. We tried to keep in mind the general shape of each organelle and its size relative to other organelles in the cell, but give yourself the freedom to be flexible here.
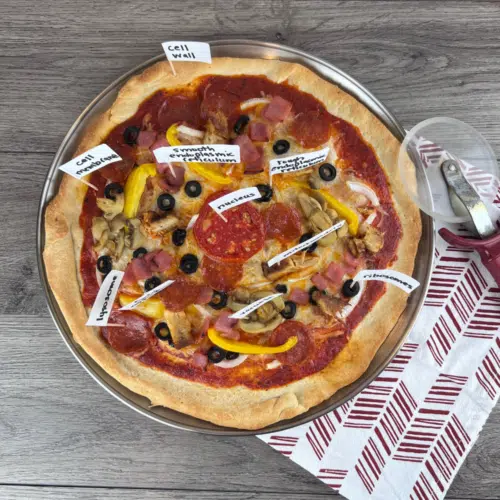
Probably the only thing that all pizza cell models will have in common will be that the crust represents the cell wall and the sauce and cheese represent the cell membrane.
Step 2: Gather and prepare your toppings.
Again, when I sliced the onions and peppers, for example, I had in mind the shape and size of the organelles they would represent. So, I sliced them lengthwise rather than dicing them.
If you need a diagram, try this animal cell printable pack for that and other related activities for younger students (though sometimes all ages can benefit from a basic review).
Step 3: Bake the crust.
Shape the crust into your favorite round pizza pan and bake it according to the directions on the package (or your recipe). The refrigerated dough called for pre-baking the crust a bit before adding the toppings.
After I did this step, I let it cool for a few minutes before proceeding to the next step. It’s no fun getting burned on a hot pizza pan.
Step 4: Add your toppings.
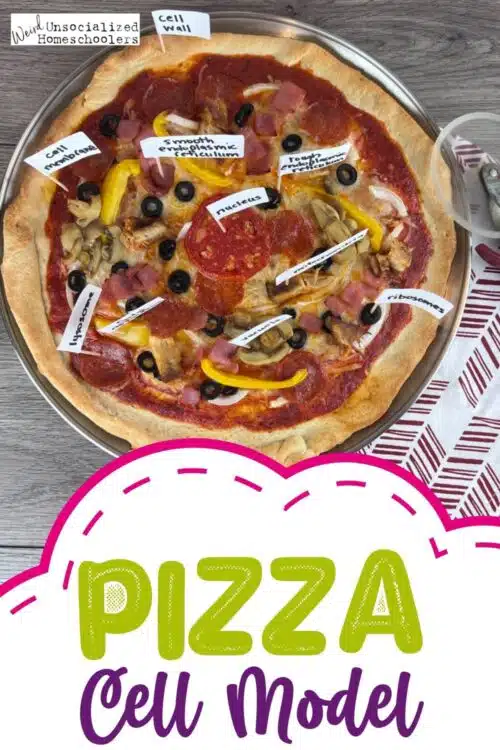
Since we were preparing this pizza as a cell model, we didn’t just toss the toppings on willy-nilly. We added the nucleus to the center, then, arranged the other toppings around it using our printed cell model diagram as a guide.
We tried to make sure to lay the toppings out in a way that a least one of each would be visible for easy labeling when the pizza was complete.
Step 5: Make flag labels.
While the pizza was baking, we created our flag labels. You can either type in your label names on your computer and print them off or just write directly on the labels. I like to use a Sharpie for writing out the organelle names because it creates a bold print that’s easy to read.
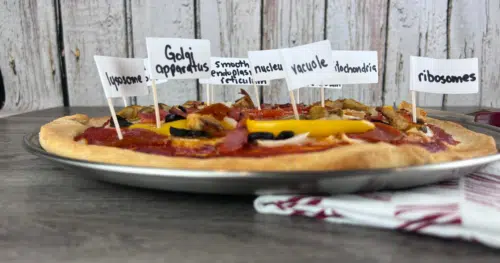
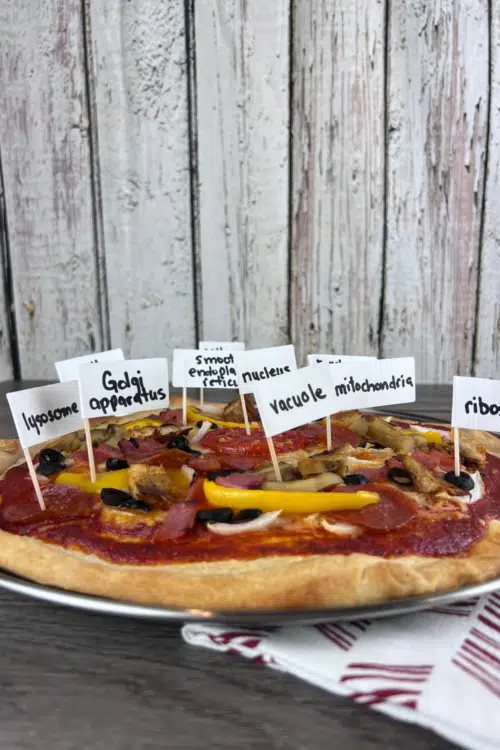
I chose to write out the names of the organelles, keeping them right-justified as much as possible so that I could just fold the blank left end of the label over the toothpicks. However, some names are just too long to squeeze into that space so I used two labels stuck back to back for those. It didn’t bother us that all the labels weren’t uniform in size, but if it bothers you, the back-to-back method is probably going to be your best bet.
Step 6: Add the labels.
Once your pizza has finished baking, let it cool a bit, then add the labels. As you add them, talk about each organelle and what its function is in the cell.
If you’ve got to transport it somewhere, such as co-op, you’re probably finished for now. Otherwise, take some photos, do any discussion and review that you want to do, then, prepare your pizza cell model for storage – you know, put it on a plate and enjoy your tasty and educational snack!
How to Make a Plant Pizza Cell Model
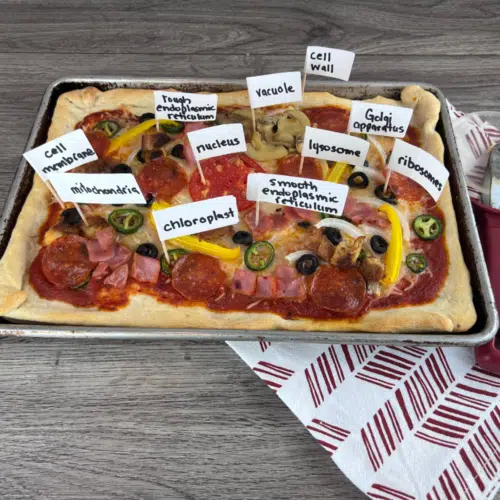
It’s really simple to choose either a plant or an animal cell with this project. We made both. For a plant cell, just use a rectangular baking sheet instead of a round pizza pan. Then, follow the same directions for baking, topping, and labeling.
For the most part, the organelles in a plant cell and an animal cell are very similar. We did notice on most of the labeled models we looked at that the plant cell had a single, large vacuole rather than several smaller vacuoles seen in the animal cells. That’s why you’ll notice one clump of mushrooms on our plant cell model.
Do you need a diagram? Check out this plant cell printable pack for that along with other plant cell activities.
Additionally, plant cells contain one organelle that animal cells don’t – chloroplasts. Chloroplasts, as you know, are necessary for photosynthesis, the process by which plant cells turn sunlight into energy. Chloroplasts contain chlorophyll, a green pigment that absorbs sunlight.
Keeping that information in mind, what better topping to represent chloroplasts than jalapeño peppers? (Green olives are a good and not-so-spicy alternative, too.)

If you’re studying plant cells with younger students or just have younger siblings who want to join in, check out this adorable photosynthesis craft you can do alongside the pizza cell project. It might also be something fun to do while you wait for the pizza to bake.
Another great add-on activity is this 3D plant cell diorama!
Whether you complete this tasty, pizza cell model as a stand-alone activity or pair it with other cell-related projects, it’s a great way to review and label the parts of a cell…and have a “school lunch” that no one complains about!
You Might Also Like…
- How to Make a Salt Dough Map (In 7 Easy Steps!)
- 100+ Awesome Hands-On Activities for Middle School and High School
- 13 Hands-On Activities for Kids That Will Make Learning Fun
Kris Bales is a newly-retired homeschool mom and the quirky, Christ-following, painfully honest founder (and former owner) of Weird, Unsocialized Homeschoolers. She has a pretty serious addiction to sweet tea and Words with Friends. Kris and her husband of over 30 years are parents to three amazing homeschool grads. They share their home with three dogs, two cats, a ball python, a bearded dragon, and seven birds.


